

This lesson is made with PSPX9
But is good with other versions.
© by SvC-Design
Materialen Download :
Here
******************************************************************
Materials:
8884-LuzCristina
Deco1-Rose
Deco2-Rose
MASK-MD-103
Texte1-Rose
texte2-Rose
******************************************************************
Plugin:
Effects – plugins - G'MIC - Deformations - Polar transform
Effects – plugins - G'MIC - Deformations - Symmetrize
Effects – plugins - G'MIC - Frames - Polaroid
Effects – pligins - Mura's Meister - Copies
Effects – plugins - Graphic Plus - Cross Shadow
Effects – plugins - Carolaine Sensibility - CS LDots
******************************************************************
color palette
:

******************************************************************
methode
When using other tubes and colors, the mixing mode and / or layer coverage may differ
******************************************************************
General Preparations:
First install your filters for your PSP!
Masks: Save to your mask folder in PSP, unless noted otherwise
Texture & Pattern: Save to your Texture Folder in PSP
Selections: Save to your folder Selections in PSP
Open your tubes in PSP
******************************************************************
We will start - Have fun!
Remember to save your work on a regular basis
******************************************************************
Foreground color # 1
Background color # 2
1.
Open a new transparent image of 1000x650 pixels
Effects - plugins - Medhi - Wavy Lab 1.1
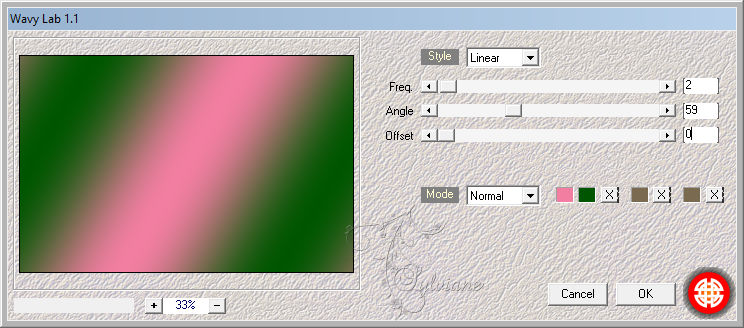
Selections – select All
2.
Open 8884-LuzCristina
Edit- Copy.
Edit - Paste into selection
Selection - Select None
3.
Effects - Image Effects - Seamless Tiling - default

Adjust - blur - radial blur

4.
Layers - Duplicate.
Effects – plugins - G'MIC - Deformations - Polar transform
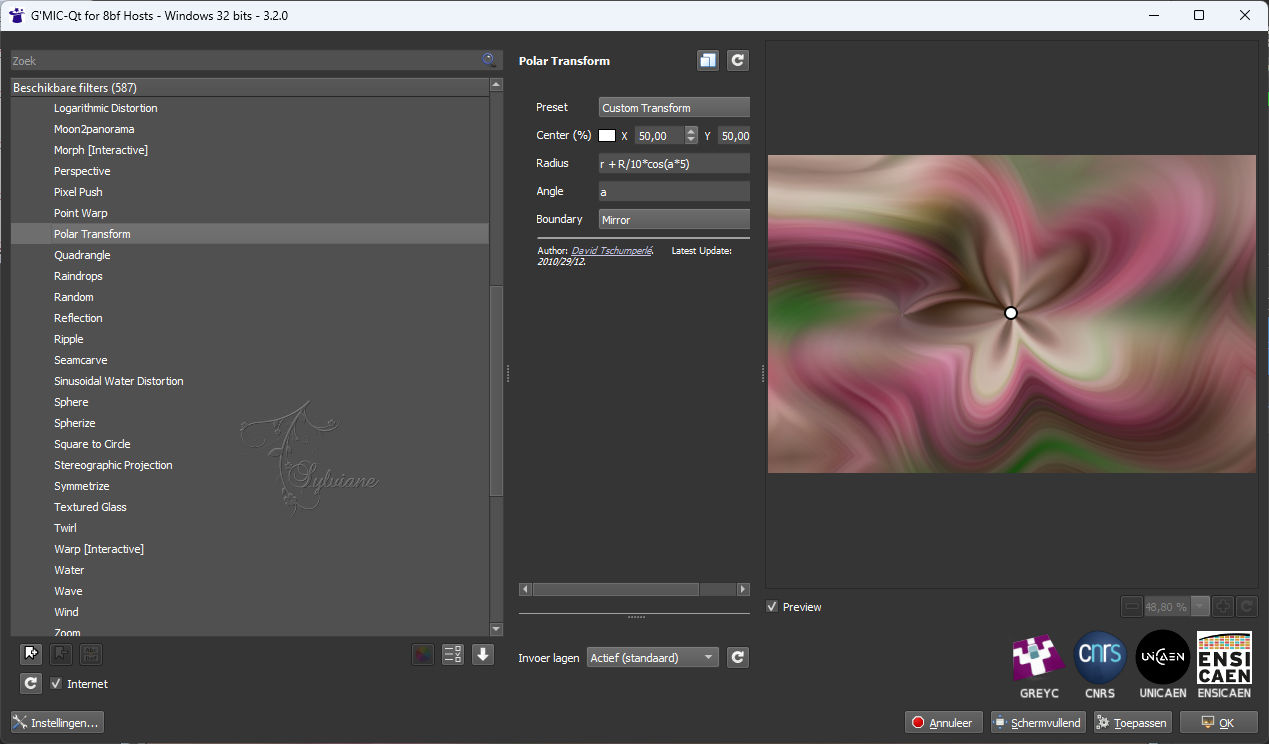
Activate raster 1
Layers - Duplicate
5.
Effects – plugin - G'MIC - Deformations - Symmetrize
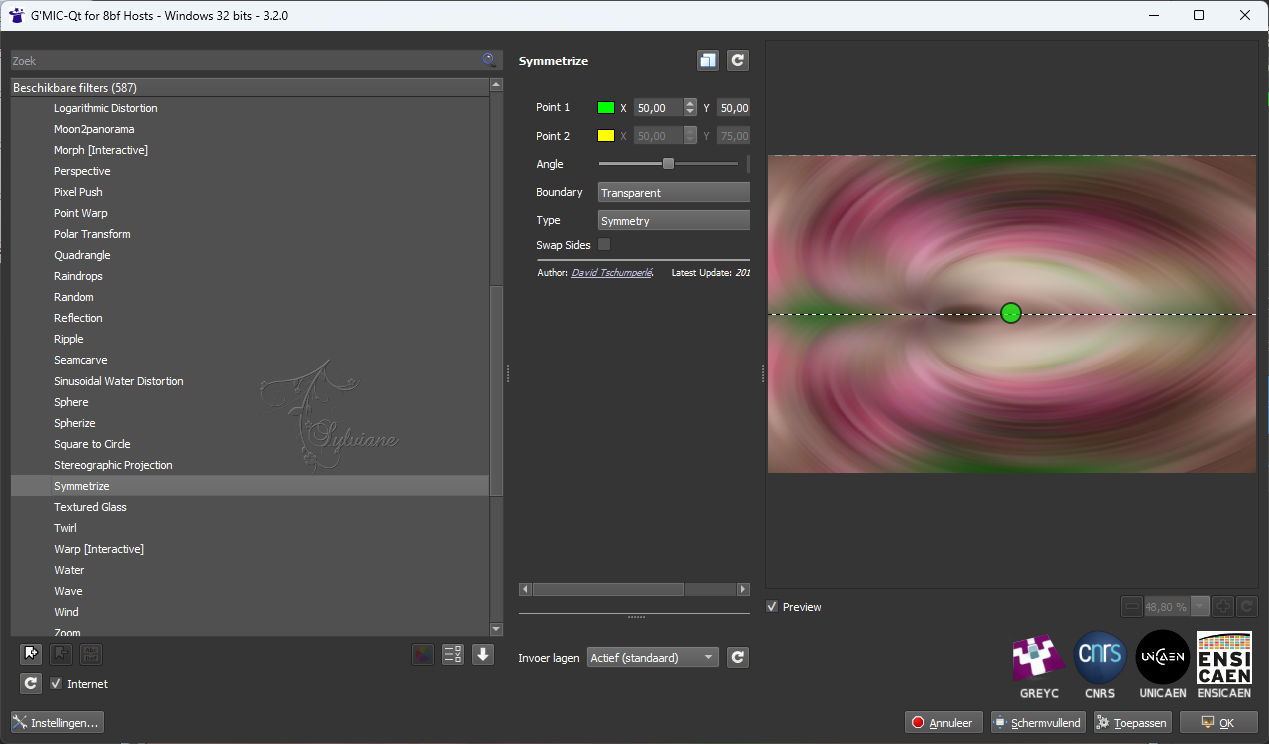
activate the top layer
Blendmode : Overlay
6.
Open MASK-MD-103 mask.
Layers - New Raster Layer
Fill the layer of color 3
Layers - New Mask Layer - From Image - MASK-MD-103

Layers - Merge - Merge Group
Opacity: 75%.
7.
Open Deco1-Rose
Edit - Copy.
Edit - Paste as new layer
Layers – arrange – move down
Opacity: 61%
8.
Activate the Raster 2.
Open Texte1-Rose
Edit- Copy.
Edit- Paste as a new layer.
Blendmode : Soft light.
Opacity: 77%.
9.
activate the top layer
Open 8884-LuzCristina
Edit - Copy.
Edit - Paste as a new layer.
Image - Resize - 90%.
No check mark on resize all layers
is good
10.
Edit – copy special- copy merged
Edition - Paste as a new image
Now let's work on this second image
Effects – plugins - G'MIC - Frames - Polaroid
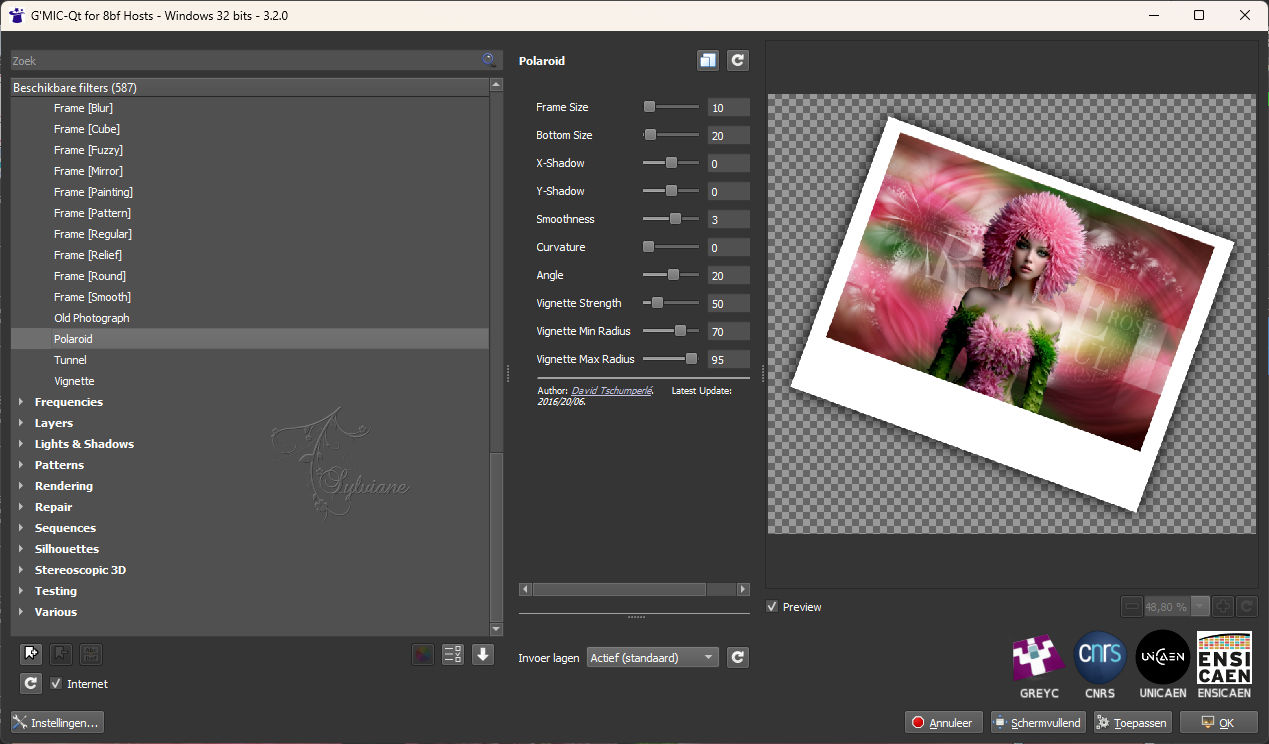
The software will ask you to register in PNG format, the recording of the image created.
Validate by OK and save the image on your computer.
11.
Activate the layer of the female tube.
Activate selection tool (Press K on your keyboard)
And enter the following parameters:
Pos X : 89 – Pos Y : 12
Press M.
12.
open polaroid picture where you saved
Image - Resize - 15%.
No check mark on resize all layers
Edit- Copy.
Edit - Paste as a new layer.
Activate selection tool (Press K on your keyboard)
And enter the following parameters:
Pos X : 759 – Pos Y : 57
Press M.
13.
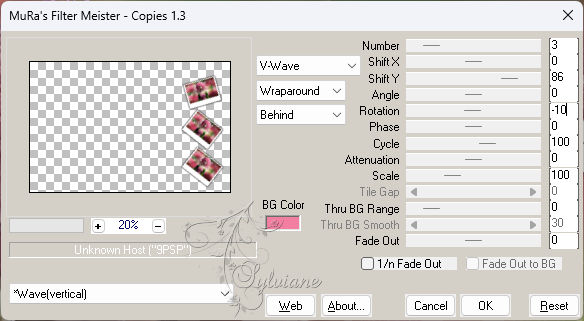
Effects – pligins - Mura's Meister - Copies
14.
Open Deco2-Rose
Edit - Copy.
Edit - Paste as a new layer.
Place as in the final image.
15.
Open texte2-Rose
Edit - Copy.
Edit - Paste as a new layer.
Activate selection tool (Press K on your keyboard)
And enter the following parameters:
Pos X : 471 – Pos Y : 328
Press M.
Layers – arrange – move down (2x)
16.
Image - Add Borders – Symmetric -2-pixel - color 2
Edit- Copy.
17.
Image - Add Borders – Symmetric - 40 pixel color 3
activate
Magic wand tool - Tolerance to zero - Select the border
Edit- Paste into the selection.
18.
Adjust - blur - gaussian blur
Range: 35
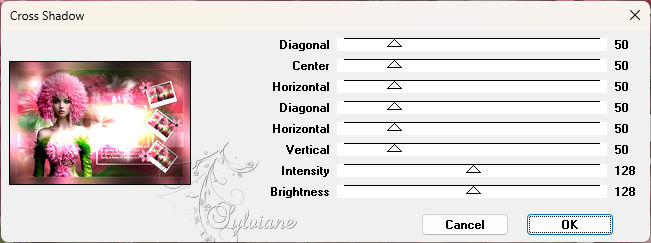
Effects – plugins - Graphic Plus - Cross Shadow - default
19.
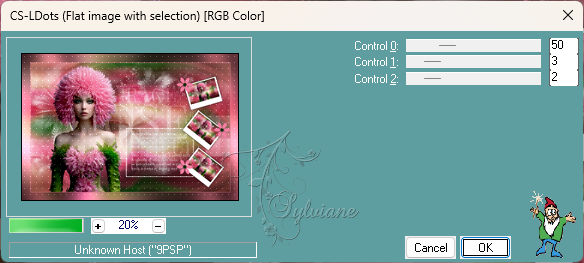
Effects – plugins - Carolaine Sensibility - CS LDots
Adjust – scharpness – scharpen
Selection - Select None
20.
Add your signature to a new layer.
Image - Add Borders – Symmetric -1 pixel - color 2
Save as JPEG
Back
Copyright Translation 2024 by SvC-Design
------------------------------------------------------------------------------
Thanks to all who created